Loading game level
 |
 |
We can load a game level using the
TCastleScene class, described in the previous chapters. Same goes for the game creatures,
and actually for everything else you need to display in the game.
TCastleScene is really versatile:)
We also have a comfortable way to manage typical levels in a 3D game.
To load a level create the
TLevel instance and call the
TLevel.Load method. Under the hood,
TLevel.Load uses TCastleScene,
adding it to the TCastleViewport.Items, and setting
as
Viewport.Items.MainScene.
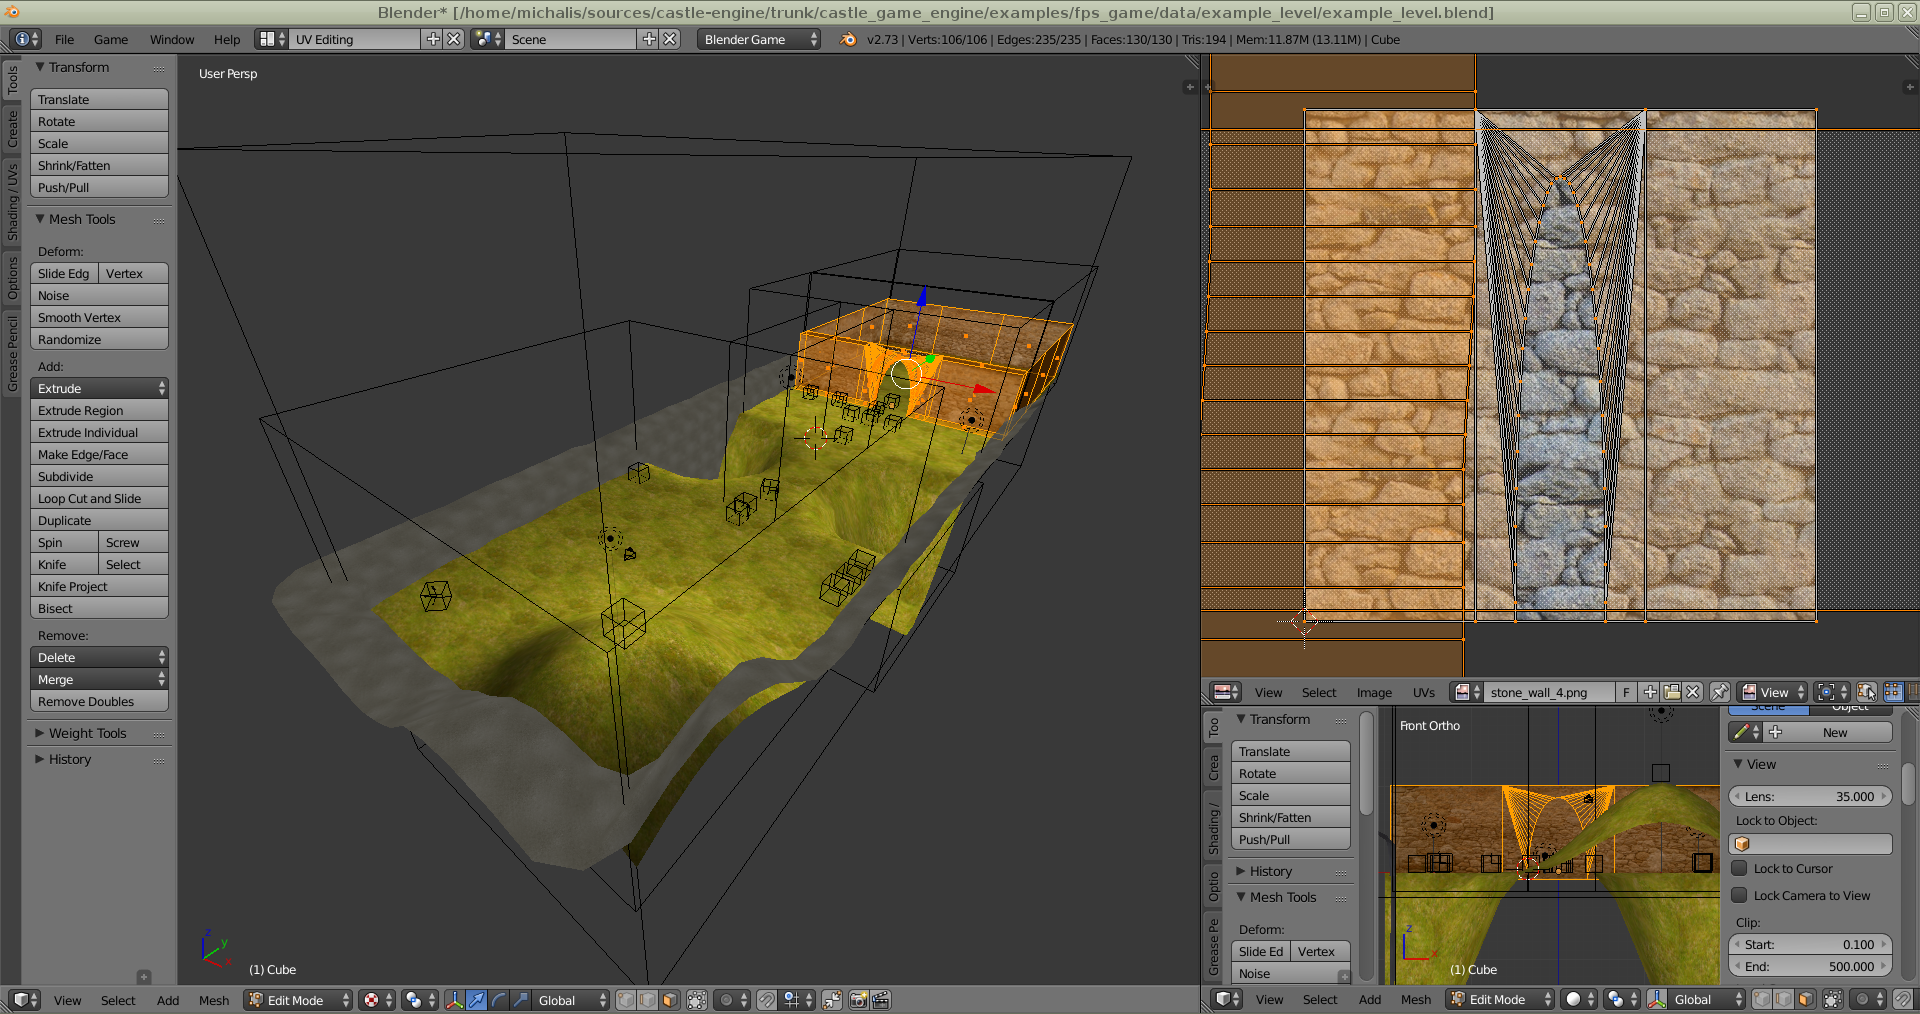
It also does something extra: it detects a "placeholders" in your 3D model,
which should be replaced with creatures and items.
It is also integrated with CastleLevels definition of what a "level"
is: namely, it's a level.xml file referencing a 3D model and
describing some additional level properties.
For each level, you create a file named level.xml,
with contents like this:
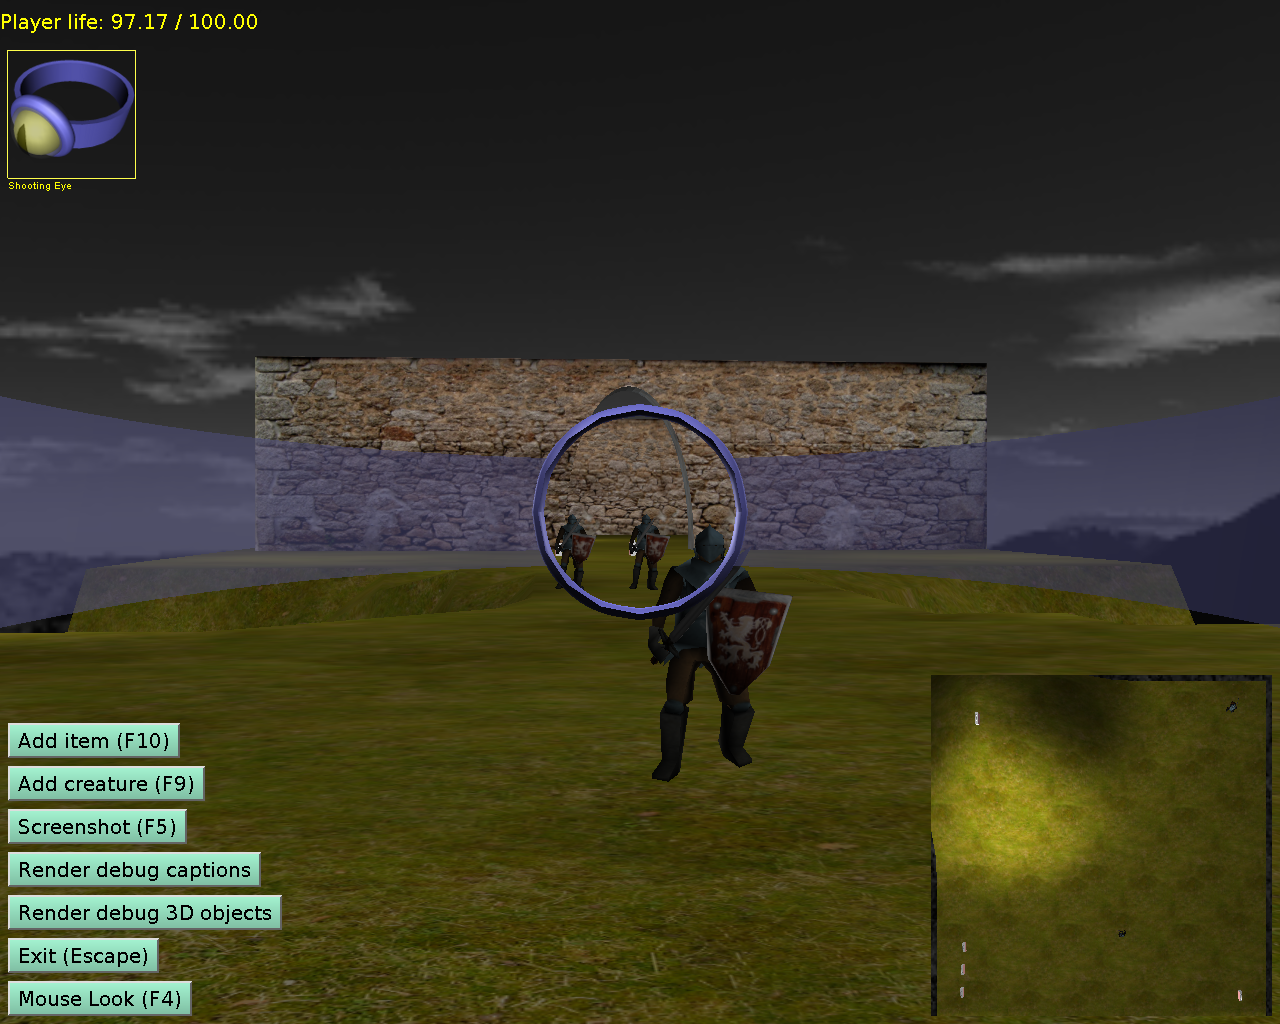
<?xml version="1.0"?>
<level
  name="pits"
  type="Level"
  scene="pits.x3dv"
  title="The Pits of Azeroth"
  placeholders="blender"
/>
See creating levels for more details about what you can define
using level.xml files. In short, the most important attributes are:
"name"is a unique internal name for the level, it will come in handy soon."type"identifies the ObjectPascal class handling the level logic. Type"Level"is always available, for advanced games you can also create and use your own level logic types."scene"is an URL or a filename of the 3D model containing the level. Usually it's a simple filename, but you could as well use here anhttp:URL to download the actual 3D data from the Internet."title"is just used for some logging and messages. Depending on your game, you may also find this title useful for other purposes, e.g. show the user a list of levels available to start. But this is up to you. The engine itself doesn't really make much use of the title. There are other optional properties, like "demo" or "number" that you may use."placeholders"says how to detect placeholders (for creatures and other things) in your 3D level model. This is optional, but highly useful. It should reflect the modeler/exporter used to create this level 3D model.
Traditionally, I place each level in a subdirectory of data/levels/,
along with it's associated 3D models. So I have a structure like this:
data/
  levels/
    pits/
      level.xml
      pits.x3dv
    swamp/
      level.xml
      swamp.x3dv
    mountains/
      level.xml
      mountains.x3dv
    ...
Although this convention proved comfortable, it's not forced at
all. The 3D model files may live in other directories than level.xml
files, and "scene" field is actually a relative URL to get them.
And level.xml files may be scattered
throughout your directory as you wish. And what is "data directory" is
configurable (by Levels.LoadFromFiles optional parameter, by default
we use data directory). It's only important that the XML files are named
level.xml.
You can now start a game by scanning all levels information from
level.xml files, and then loading your desired level by referring to
it's "name" field:
uses ..., CastleLevels;

...
Levels.LoadFromFiles;

Level := TLevel.Create(Application);
Level.Viewport := Viewport;
Level.Load('pits'); // refer to name="pits" in level.xml
// the last line is a shortcut for
// Level.Load(Levels.FindName('pits'));
The TLevel.Load will clear all Viewport.Items (except Level.Player,
more about this in a second). Then it will load new 3D model with a
level (adding it to Viewport.Items and setting as
Viewport.Items.MainScene, just as we did manually in previous chapter),
and do some more interesting stuff that we'll learn later.
The important thing here is that (except the "name" of the 1st
level) levels are not hardcoded in any way in your program. This makes
game data nice for people preparing new content: they can just drop
new subdirectory into the data/levels/, and if it will contain proper
level.xml file, it will be automatically recognized. A similar scheme
will be used for creatures/items in the following chapter. Your game
data is immediately friendly to MODders.
